How To Create A New Python File In Terminal On Raspberry Pi
Programming for the first time can already be challenging, but when you add new Linux skills on top of it (like the command line), it can quickly become overwhelming. In this article, I’ll show you how to create a Python script from the terminal, even if you know nothing about Linux command lines.
On Raspberry Pi OS, Nano is the default text editor and can be used to create a new Python file from the terminal. The command syntax will be “nano <filename.py>”.
As often with computers, it’s not that easy. There are a few additional steps and some tips you’ll need to know to get started. Let’s do this!
If you’re like me and sometimes mix up syntax between programming languages, I’ve got just the thing for you. I’ve put together a Python cheat sheet with all the essential syntax in one place, so you can keep it handy and avoid any confusion. Download it here for free!
How to create a new Python file in the terminal
Here are the required steps to create a new Python file from the terminal:
- Create a new folder for your scripts and go into it.
- Create a new Python file with Nano.
- Type the code and save the file.
- Run the Python script.
Let’s learn how to do this step-by-step.
Move to your code folder
A good practice is to create a subfolder where you’ll store all of your Python scripts. You can also create a main subfolder (like “code” or “scripts”) and create another subfolder in it for each project. Just try to be organized from the beginning, as it will make things easier later on.
You might also like: Looking for a fun challenge? Start building your first Raspberry Pi robot!
Open the terminal on your system, and follow the instructions below.
On Raspberry Pi OS, you have a shortcut to the terminal in the top bar.

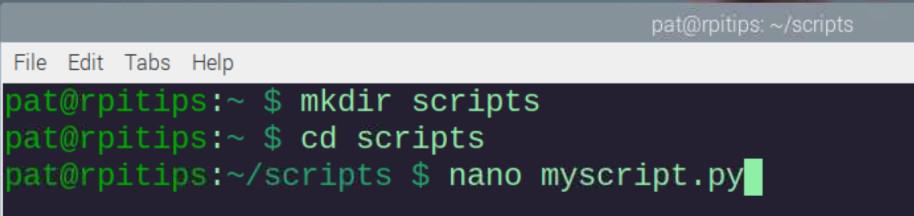
To create your main folder, you can type this command into the terminal:mkdir scripts
Press “Enter” to execute the command.
“mkdir” is the command name you can use to “make directory”.
“scripts” is the name of my folder, but you can obviously use whatever you want.
Then you can go into this folder with the command:cd scripts“cd” is the abbreviation of “change directory”.
You can get answers from real experts in minutes.
Get help with your setup
If you want to create subfolders there, feel free to use the “mkdir” command again and then move into them with “cd”.
Tip: Command lines can be a pain to memorize. I put the essential Linux commands on a printable cheat sheet so you don't have to keep googling them. You can grab the PDF here if you want to save some time.
Create a new Python file
Once in the correct folder, the easiest way to create a new Python file from the terminal is to use Nano.
Nano is a text editor, that is installed by default on Raspberry Pi OS and can be used in the terminal (no desktop environment required).
To create a new file, simply use this command syntax:nano <filename>Python scripts have a “.py” file extension, so you can for example use:nano myscript.py
Bonus tip: : Instead of Googling syntax every time, I keep a small cheat sheet with the main Python elements. Check it here.

Want to build real Raspberry Pi projects with Python? This book starts from scratch and guides you toward practical scripts, automation, APIs, cameras and more.
Learn Python on Raspberry PiYou might also like: Pi5 vs. Pi4: I tested them, here's the result
It’s also possible to specify the full file path directly in the command, so you don’t have to be in the destination folder. For example:nano /home/pat/scripts/myscript.pyThis command will do the same thing as on my screenshot, even if you are in an entirely different folder.
Related: Should You Learn Linux or Python first?
Type your code in the editor
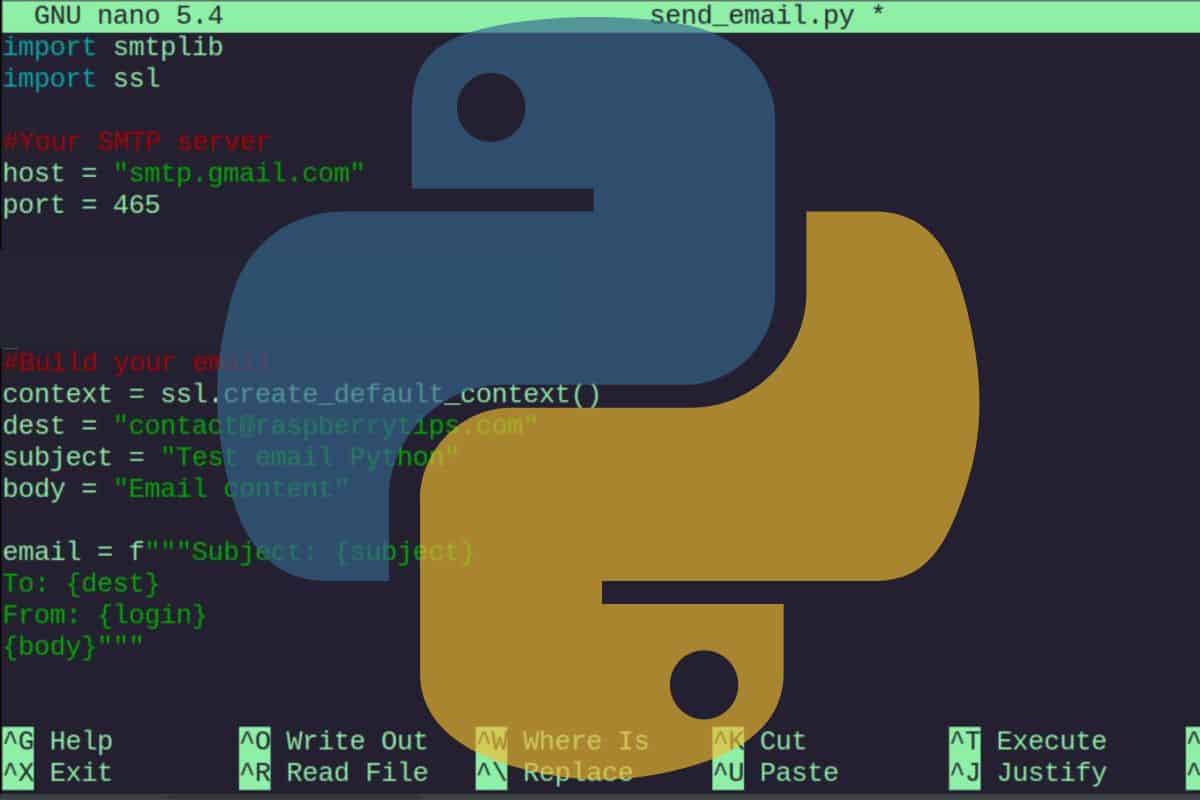
When you use nano in the terminal, it will open a basic text editor, where you can type your Python code:
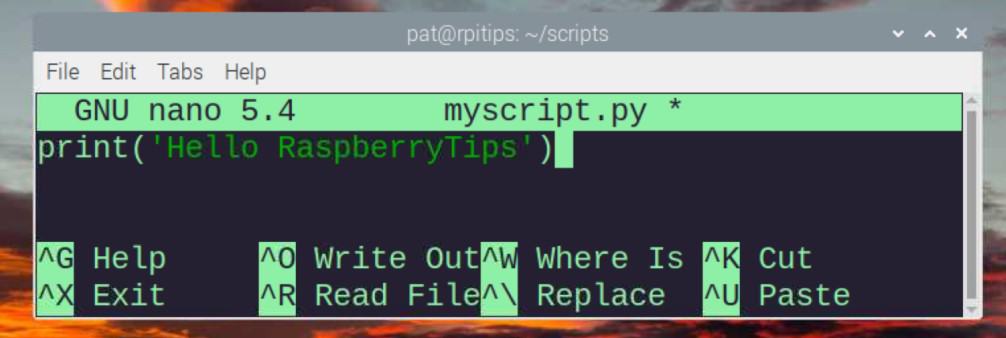
You can directly type your code, for example, you can try something simple first:print('Hello RaspberryTips!')
Feel free to check my tutorial on how to get started with Python on Raspberry Pi if you need some guidance at this point.
Nano has a color highlighting feature enabled by default for Python, so it’s a good editor to get started with, even if there is no GUI and it can be challenging if you are new to Linux.
Save your file
Nano is intuitive in a way, as you can directly type your code in the terminal window. But using other features, even the most basic like saving the file, is not very intuitive.
Shortcuts are mentioned at the bottom of the editor, but here is how to save your new Python script:
- Once your code is completed, press “CTRL+O” simultaneously to write the file content.
- Then press “CTRL+X” to close the Nano editor window.
You’ll get back to the terminal, where you can see your previous commands and run the Python script.
If you’ve never used Nano before that, you should probably read my article explaining the important commands and shortcuts to know with this tool. It’s powerful, but can be confusing in the beginning.
Test your Python script
Last step! You have now created your script from the terminal by using Nano to write the code. You can now run it to make sure it’s working as expected.
To run a Python script from the terminal, you can simply use this command syntax:python <filename>So, in my example, it’s:python myscript.py

If you used the code I gave you previously, it should just display something like “Hello RaspberryTips!”.
Well done! You now know how to create a new Python script from the terminal. It works the same way with any text file, by the way. For example, creating a script in C/C++ from your terminal will be exactly the same (more details about this here).
How to edit an existing Python script from the terminal
To edit an existing Python script from the terminal, Nano can be used by specifying the filename in the command line, for example:nano myscript.py

So, it’s basically the same thing as creating a new file. If the file already exists, Nano will start and show you the file’s content instead of a blank page.
Remember that you can specify the file’s path in the command line, you don’t have to switch to the destination folder each time. For example:nano /home/pat/scripts/myscript.py
The “cat” command I use on my screenshot allows you to quickly see the file’s content without editing it.
Still stuck after following this guide? Drop your question in the RaspberryTips Community — real Pi users answer fast. Post your question here.
Other options to create Python files on Raspberry Pi
Bonus tip: : Instead of Googling syntax every time, I keep a small cheat sheet with the main Python elements. Check it here.
Using Nano to create Python files on Raspberry Pi is the default option, as it’s preinstalled, but many alternatives are available if you want to test something else.
Use another text editor in your terminal
If the only interface you have is the terminal, Nano is probably the best option.
An alternative would be to use “vim” which is a popular text editor for the terminal on Linux, and can be installed easily on Raspberry Pi OS.
You first need to install it with apt:sudo apt install vim
And you can then edit your files with the following:vim <filename>
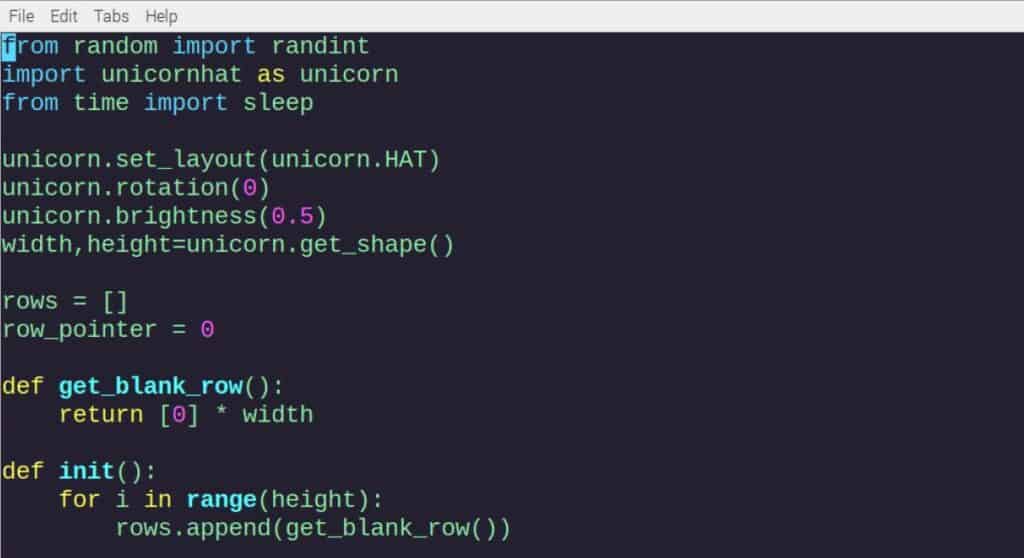
As you can see in this screenshot, there is also some color highlighting available.
It’s a bit more challenging to get started with it, as you can’t edit the file directly (you have to press “I” to switch to “Insert” mode), and there are some weird commands to do everything (like “:wq” to save the file).
I have a full tutorial on how to use Vim on Raspberry Pi here. I recommend checking it out if you don’t like Nano and want to try something else.
Add a desktop environment for better editors
The easiest way to code in Python would be to use a desktop environment and install a graphic text editor.
Geany and Thonny are preinstalled on Raspberry Pi OS with Desktop, and Visual Studio Code is available in the “Recommended software” tool. It will be way more intuitive to use than the terminal, especially if you are new to Linux.
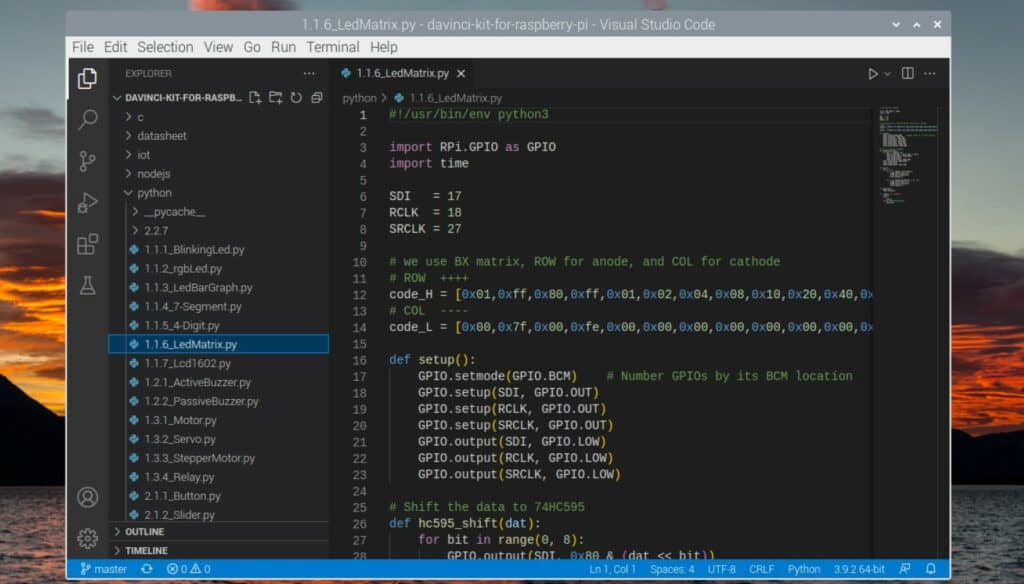
VS Code is my favorite editor currently (yes, even if it’s a Microsoft product…), but you can find my list of the top code editors for Raspberry Pi here if you want other suggestions.
Remote development
Another suggestion if you don’t have the choice and need to use a Lite edition of Raspberry Pi OS (terminal only), is to code from your computer, and send the Python files to the Raspberry Pi.
You can do this manually, or even better, you can configure remote development on Visual Studio Code (and most major editors I think).
You might also like: Probably one of the best Raspberry Pi workstations (review)
The idea is to enable SSH on the Raspberry Pi, configure your project to connect to a remote folder (/home/pat/scripts for example), and edit the Python files from your computer directly. Each time you save the file on your computer, it will update it on the Raspberry Pi.
It’s not that complicated to set up, and it will be way more comfortable to use on a daily basis.
Not getting the same result?
Even when you follow every step, small differences in OS version, hardware or config can change the outcome. Instead of wasting time guessing, get help from people who have already fixed the same kind of issue.
- Get help on your exact issue
- Access step-by-step videos for tricky setups
- Browse the website without ads